The Rulestar Add-In for Microsoft Word makes the integration of the two products seamless.
With the Rulestar Add-In for MS Word, you can merge data, tag conditional content and test your documents without having to track back and forth between the application and the template.
There are several steps that need to be taken before using the Add-In that we'll explain here. If you're looking for the articles about how to use the Add-In once it's installed, please go here.
Installing the Add-In from the Microsoft Store
To use any Add-In in Microsoft Word, you'll need to have the Developer tab visible in your ribbon. If you're unsure how to do this, please read our knowledge base article, here.
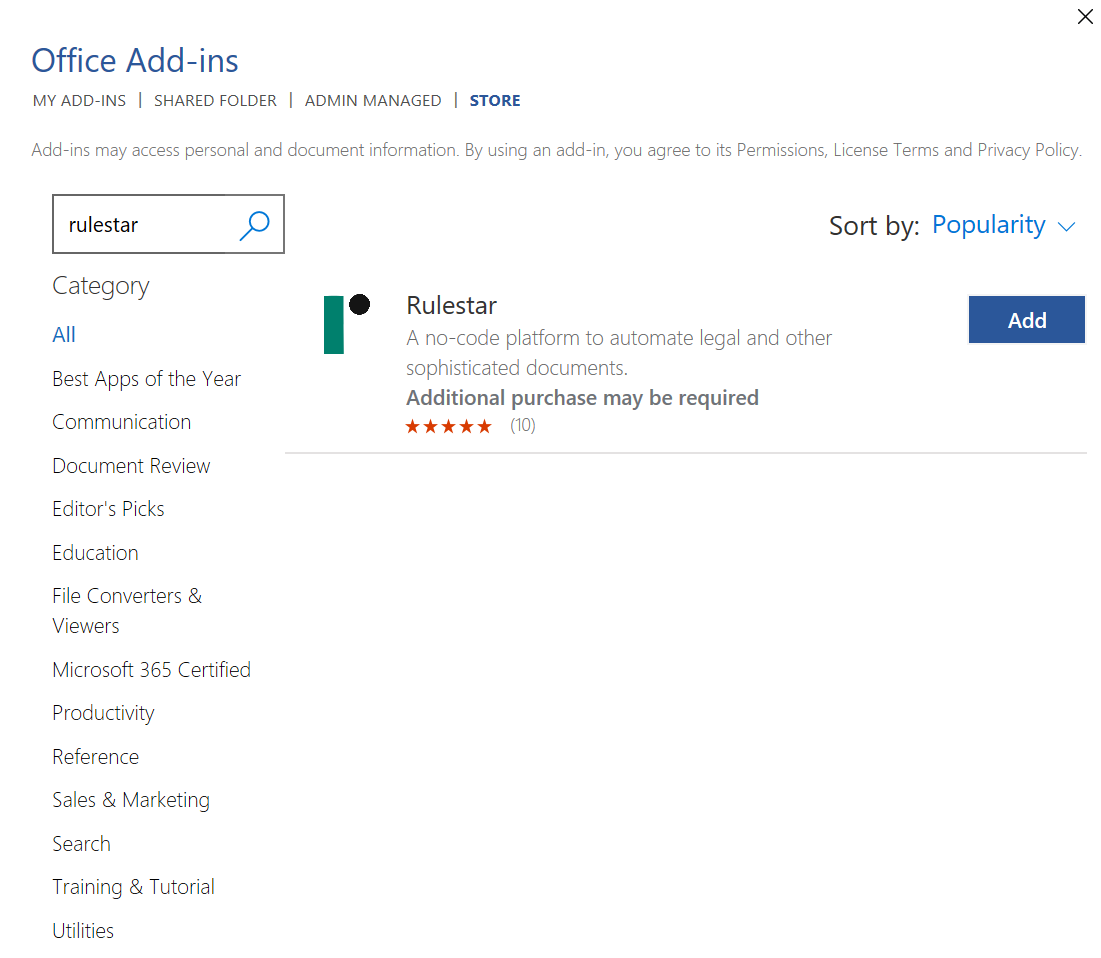
Once the Developer tab is visible, click on the Add-ins button which will then open the Office Add-ins dialogue.

Use the Search bar to find the Rulestar Add-in and click the 'Add' button. This will install the Add-in to your local machine.
Setting up the Add-In
Once you've installed the Add-In, open it by navigating to the appropriate tab in your Ribbon (or from the icon in your Home tab).
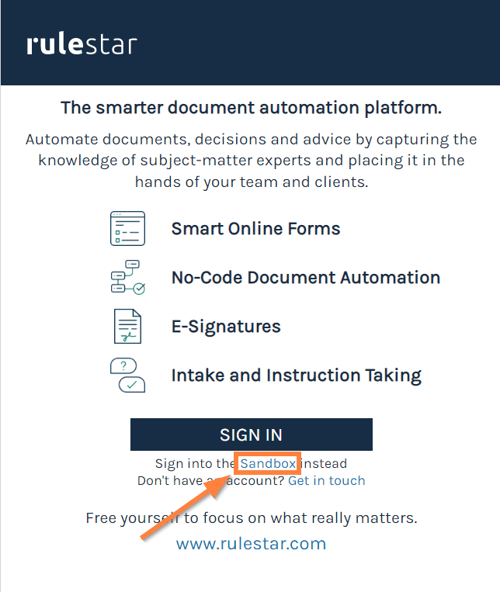
On the landing page, use the 'Sign In' button toward the bottom (if you're using the Sandbox, click the appropriate link just below the Sign In button, as per the screenshot below) and sign in using your Rulestar credentials.
Connecting the Add-In to a Rulestar form
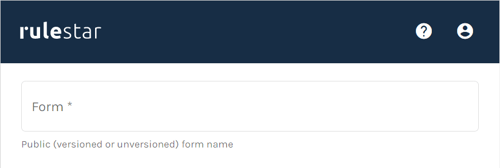
Once authenticated, you should see a dialogue asking for a Form. Start typing the name of the form to which you'll be linking your template and select it from the dropdown list.
Once the Form has been selected, you're able to start merging content from the form, marking conditional content and using other Add-In features in the template.
Related articles:
Conditional Content
Formatting