Easily manage the access of multiple users by creating user groups
Groups are a good way of managing the roles of a large number of users with similar needs. For example, you may have a group of users whom all require the Viewer role for your entire library. Rather than assigning access to the individual members of the group, you can assign access to the group itself and then add or remove users from the group, instantly giving each of them the same level of access. Similarly, whenever the group's access needs to be modified, it can be done at the group level.
Creating and Editing Groups
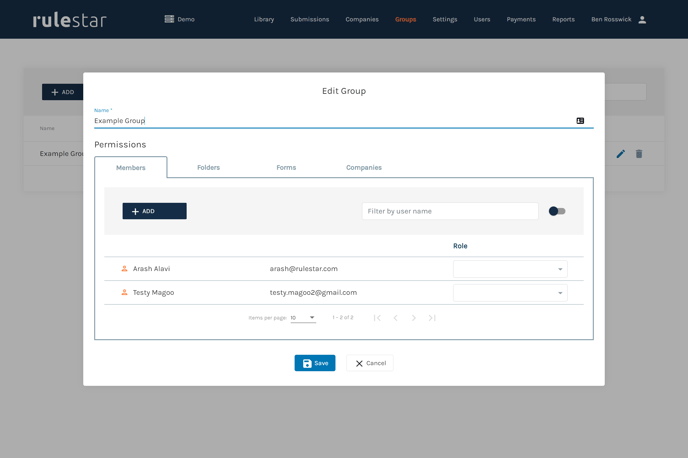
Creating a group is straightforward. Simply navigate to the 'Groups' menu item and click on the 'Add' button (see below). You'll then be prompted for a name and you'll have the option to populate the group's Members and assign roles and permissions to each of Forms, Folders and Companies.
Allocating permissions to a group is otherwise identical to the process of allocating permissions to an individual user. Once a user is a member of a group they will automatically inherit all of the permissions allocated to that group.
Note that the toggle in the top-right corner of the tables within the dialogue can be switched between showing only those Members/Folders/Forms/Companies with roles allocated to them and showing all records. The toggle will initially show all but will automatically switch to just showing populated records once they have been saved.

