Adding conditionality to your content makes your documents truly dynamic by adding intelligence to the automation process
What is Conditional Content?
"Conditional content" is any content in your MS Word documents that may be removed from, or included in, a generated document depending upon the choices made by the user in the associated online form.
In the Rulestar platform, we call slices of conditional content "ranges".
What content can be conditional?
Your ranges of conditional content can be as small as a single character (eg, just one letter, or a single space, etc) or as big as you like, potentially spanning many pages and even incorporating multiple sections within your MS Word document.
You can define ranges of conditional content within table cells and even make entire rows in a table conditional.
If images are anchored within a range of conditional content, those images will similarly be removed from, or kept in, the generated document along with the content to which they are anchored.
How to Mark a Range of Conditional Content
Before you can make content conditional, you need to have the Word Add-In up and running, and link it to the form, the answers to which will be used to govern your template. We also highly recommend working in Design Mode if you're using the desktop version of Word.
Whilst it's possible to develop your form/questionnaire and template simultaneously, you'll need to have enough of the questions already built to make creating rules based on the questions feasible.
For the purposes of this article, we're also going to assume that you've already created the Named Ranges you want to use to govern your conditional content. Creating the Named Ranges using the Add-In or using the Application won't impact how they can be used.
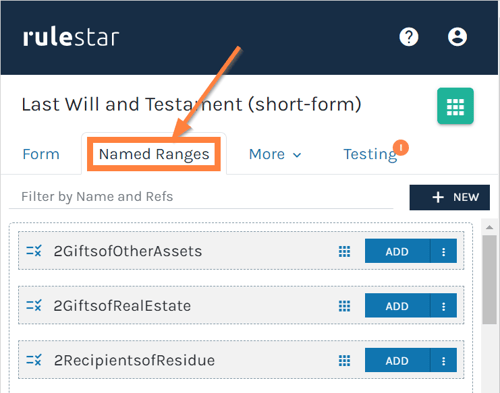
The first step to take before marking a range as conditional, is to open the 'Named Ranges' tab in the Add-In and search for or scroll to the Named Range you want to use.
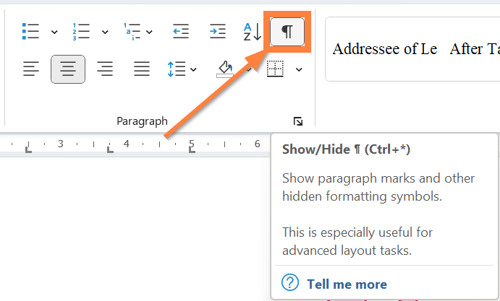
We also recommend that you toggle the option to show hidden formatting symbols to make it easier to see what content you're marking.
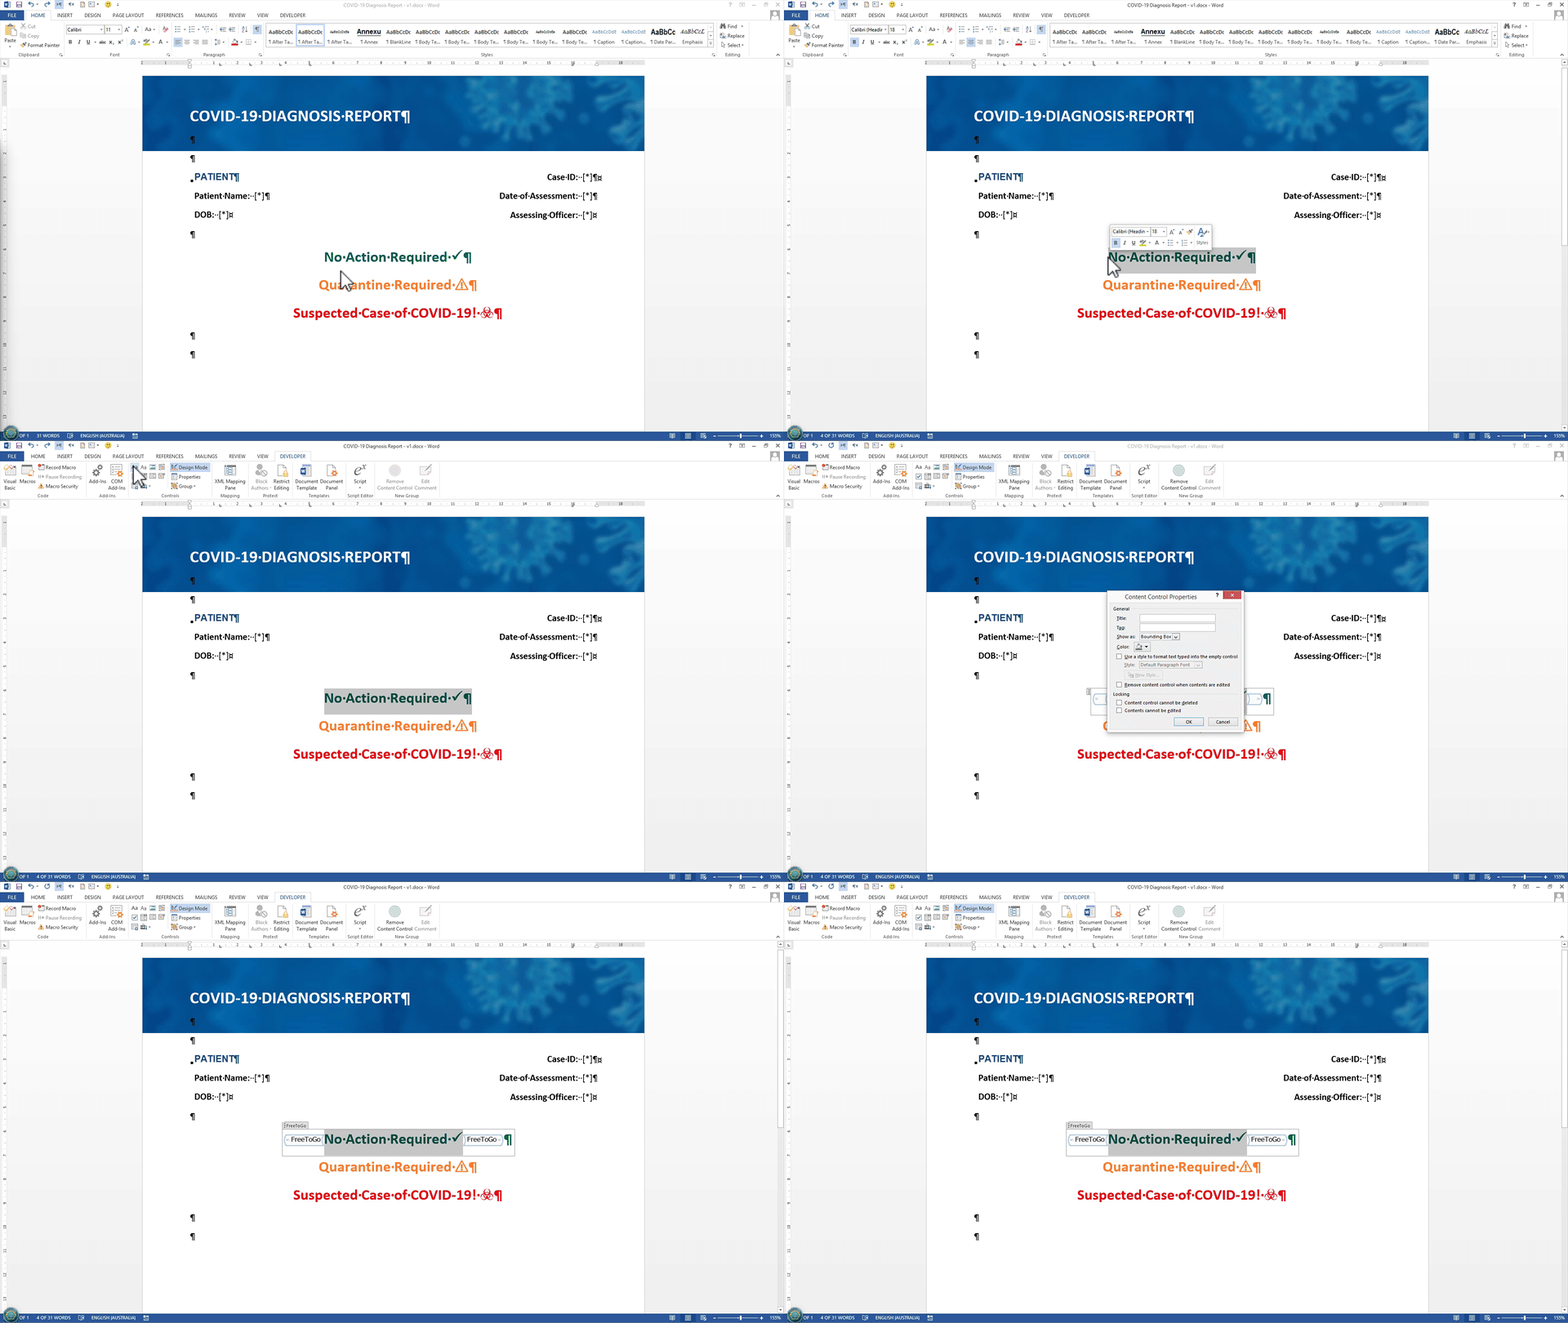
Once you've found the appropriate Named Range in the Add-In, highlight the content in the template you want to make conditional, taking extra care to include (or exclude) all the appropriate spaces and return carriages. A good rule of thumb is to only include leading OR trailing punctuation so that you don't end up with duplicated or missing full stops, spaces, etc.
After you've made the selection of content, click the 'Add' button.

If the Named Range has been applied correctly you'll see a content control appear in the document with the title corresponding to the Named Range (this is more obvious when in Design Mode, as in the first screenshot below).

You'll also notice that when the cursor is inside the content control (the area highlighted in grey), a dialogue appears at the bottom of the Add-In showing you the details of the Named Range.

See here for more guidance on marking conditional content within tables.
See here for more detail about merging images into your generated documents.
Note that the same Named Range can be applied an unlimited number of times across the template. Once applied, you can navigate between different ranges of content governed by the same Named Range by clicking on the content menu and selecting 'Go To' or simply clicking on the Named Range text itself.

 Nesting Conditional Content
Of
Removing Range Markers
There are two ways to remove the content control used to mark conditional content.
- Using the Rulestar Add-In: Click anywhere inside the conditional content and check that the corresponding Named Range is displayed in the bottom of the Add-In (if you have nested conditional content, you should choose a point towards the outer boundaries of your content).
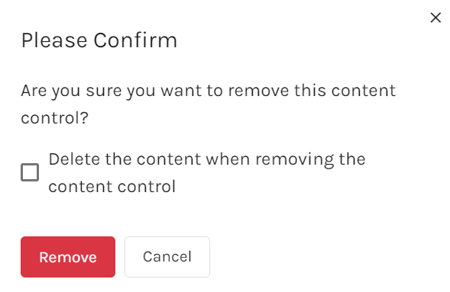
If the correct Named Range is showing, click the red rubbish bin icon to remove it. You'll then be presented with a confirmation dialogue that asks you whether or not you also want to delete the content itself, which can be done by checking the checkbox.
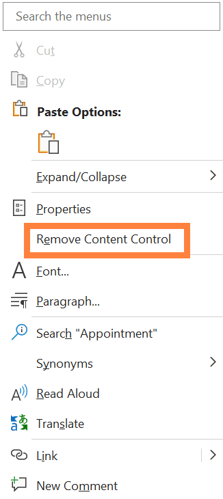
- Using the MS Word native tool: To remove a content control, simply right-click inside the control (i.e. somewhere inside the conditional content) and choose "Remove Content Control" from the context menu. We only recommend using this method if you have Design Mode enabled..
