Control simple and advanced form settings and actions
The 'Settings' tab in the form builder has many functions, split up into five different categories:
With the exception of the document template category, all are managed from the Published version of the form. Templates are locked in this version and are uploaded in the Draft version instead. We'll go through each of these categories below.
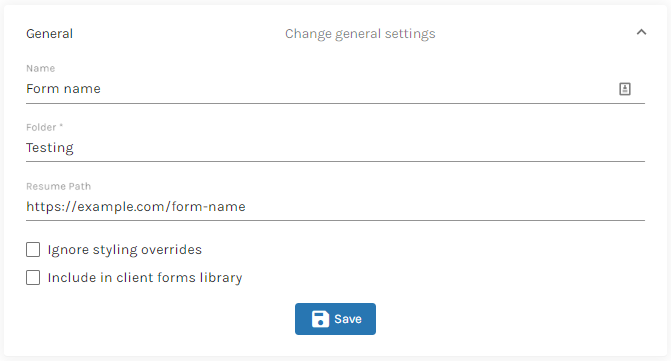
General
This is where the basic information relating to the form lives including the form's name, folder inside the library and the URL of the page where the form resides (this is where the applications will be redirected when a user clones or resumes the form).
You can also control whether styling overrides are ignored for forms that have been designed with a specific visual appearance. The 'Include in client forms library' checkbox determines whether or not this form will be made available to clients or used for internal purposes only.
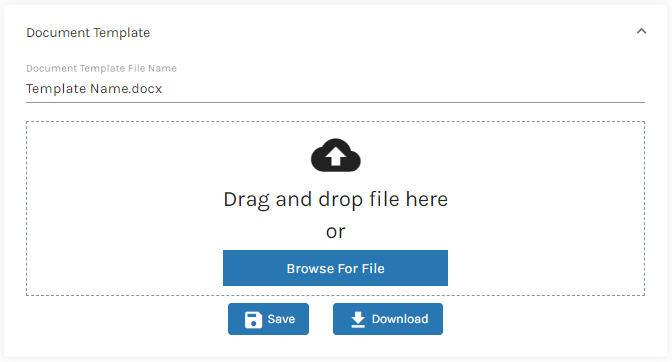
Document Template
Templates for document automation are uploaded in the Draft version of a form. To upload a file, you can drag-and-drop or browse using your device's file explorer. To complete the action, you must click the 'Save' button. To download the existing file, use the 'Download' button. Changing a template's file name will not affect the functionality of the form.
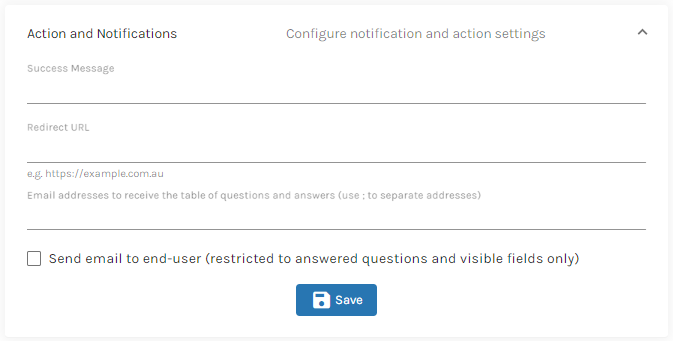
Actions and Notifications
This is where you control what happens after a form is submitted.
The 'Success Message' field controls the message that is displayed in the 'toast' notification that slides up from the bottom-right corner of the screen.
The 'Redirect URL' field dictates where a user will be redirected after submission. This is usually a thank you page or another form of confirmation.
You can also send a copy of the Submission Table to any application users. This is useful where the form is being used for data collection rather than document automation.
Finally, the checkbox field shown in the screenshot below controls whether or not the user will receive a copy of the Submission Table – filtered to contain only the questions that the user answered – which can be useful for audit or support purposes.
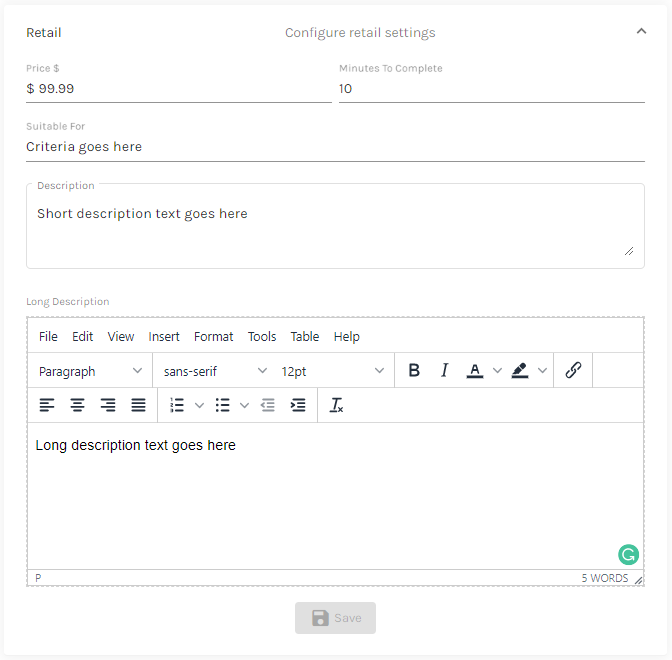
Retail
These settings all relate to the form's retail use. To see how them in action, check out the One-Page Portals article. Note that prices are expressed exclusive of any taxes that might be added by the payment gateway integration.
History
This is where you'll find information about when a form was created, last updated and last published as well as when the Template was last uploaded.
